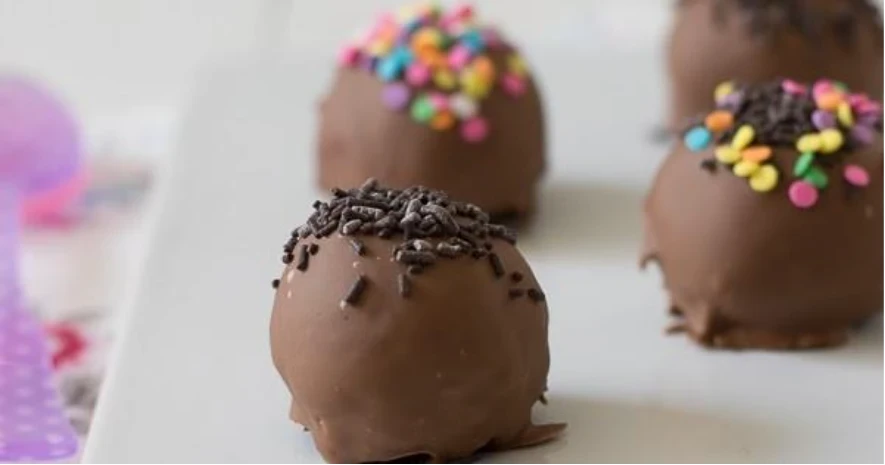
Photo by: The sweetest tastehttps://thesweetesttaste.blogspot.com/2014/09/trufas-de-oreo.html
I'm sure we've all had a sweet craving during the day, but I don't mean something simple like chocolate or gummies; no, I mean a delicious dessert like the ones you see on the internet that only makes you hungry. The problem is that sometimes we're too comfortable at home to go out for a dessert, and let's be honest, making it at home is too much work, or you don't have the ingredients, or it takes too long to make; so you stop feeling excited about baking it. That's why today I'm showing you a super easy recipe that doesn't require an oven or complicated equipment. It can be made with things most of us have at home, and it's also super delicious and the perfect size to satisfy that little sweet craving that won't leave you alone. Today we're going to make Oreo Truffles, a dessert that's different and much easier than you think!
The list of ingredients is a joke; they are things that most of us have at home, and if you don't have them, they can be found literally anywhere. They are:
- Oreo cookies
- Cream cheese
- Chocolate bar of any type; like milk or dark for example
- Sprinkles
And the equipment is just as basic:
- A tray
- Waxed paper
- Fork and spoon
- A bowl
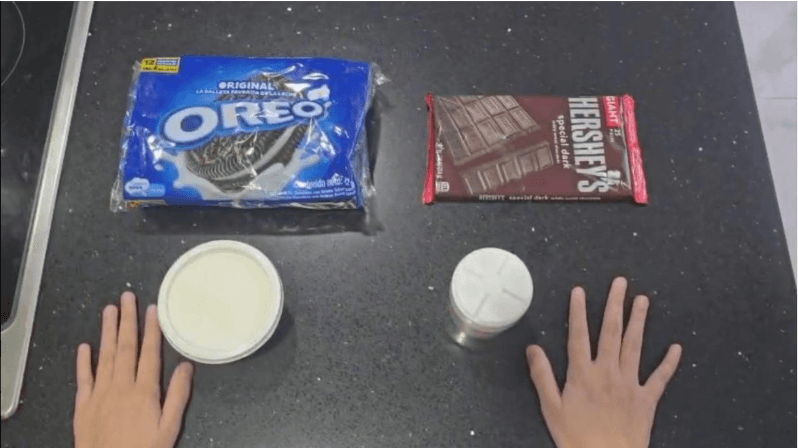
Photo by: Ariela Pineda member of The Daily
Once we have all our ingredients, we can begin. The first step is to crush the Oreo cookies. You can do this in a food processor, as shown in the video, or in a blender. I recommend breaking the cookies into smaller pieces first so that they crush more easily and don't get stuck in the blades. You can also crush them by hand, but this will take longer and make it much harder for you to achieve a powder consistency. The amount depends on how many truffles you want to make. In the video, I used 9 packages of cookies and ended up with a total of 45 truffles.
After transferring all the crushed cookies to a deep mixing bowl, add the cream cheese. There is no exact measurement for the amount, so I recommend adding it little by little and mixing until you achieve a doughy consistency that is easy to handle without sticking or crumbling.
Now take small amounts of the mixture, the size you want your truffles to be, and roll them into balls with your hands. Repeat until you have used up all the mixture and place the balls on a long tray lined with wax paper to prevent them from sticking and losing their shape.
Put the truffles in the refrigerator for about 20 minutes to make sure they are firm and set, so the chocolate sticks to them. This will make them look prettier, like in a magazine.
It's time to prepare our chocolate; the type of chocolate you use is up to you. I decided to use dark chocolate since the Oreo mixture is already very sweet on its own, which balances the flavor better, but you can use any type, milk or white chocolate. I used an XL bar of Hershey's chocolate, but again, the amount of chocolate you use depends on how many truffles you make. This is just what worked for me, although it never hurts to be cautious. Plus, you can dip some strawberries or marshmallows in the leftover chocolate. It's a win-win.
How you melt the chocolate is up to you. You can do it the quick-and easy way by using the microwave, or you can be an overachiever and have your professional chef moment by melting it in a double boiler, like me. To do this, you only need two pots, one considerably larger than the other. Fill the larger one a little less than halfway with water and then place the smaller pot inside. Wait for the water to boil and the smaller pot to heat up enough to put your chocolate in, the bowl should never touch the water or the chocolate will scorch. To maintain control over the pots and avoid accidents or burned chocolate, it's best to keep them to medium heat.
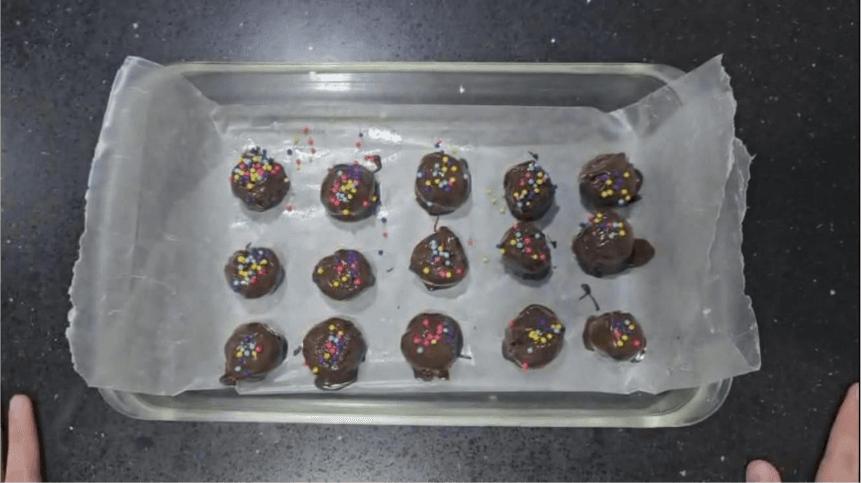
Photo By: Ariela Pineda member of The Daily
Once the chocolate has melted, remove the truffles from the refrigerator and, using a fork and spoon, cover each one completely with chocolate and place them back on wax paper. Repeat this process with the remaining ones. It may be a tedious process, but trust me, it will be worth it in the end. While the chocolate on the truffles is still soft, you can add sprinkles or any topping of your choice—it's up to your imagination! Once they are all covered, put them back in the refrigerator for at least an hour to ensure that the chocolate hardens. Take advantage of this time to clean your kitchen, don't be lazy!
And that's it! Your chocolate-covered truffles are ready. A simple dessert that doesn't require baking and is new to many who haven't had the chance to try them. They're fun to make, and since they make a large batch, they're also great for sharing. I've taken them to my friends and they have loved them, and I'm sure your friends will too! And don't be afraid to experiment with different fillings or types of chocolate. There are no rules in the kitchen as long as your creation is edible in the end. Don't let laziness get the best of you. Satisfy that sweet tooth; I promise you'll love them!

Ariela Pineda
Junior writer
Hi, I’m Ariela. I’m a junior at La Floresta and a writer for the school newsletter team. I believe that writing is a unique way for me to express myself to the public, and I find that it makes it easier to communicate something meaningful and interesting at the same time. Being part of the team opens many doors for me to explore different topics where I can grow creatively, both individually and as part of a group. I hope to continue learning and developing through this opportunity, and to share my knowledge and interests with the world in my own personal style.


